
Shipping a Painting
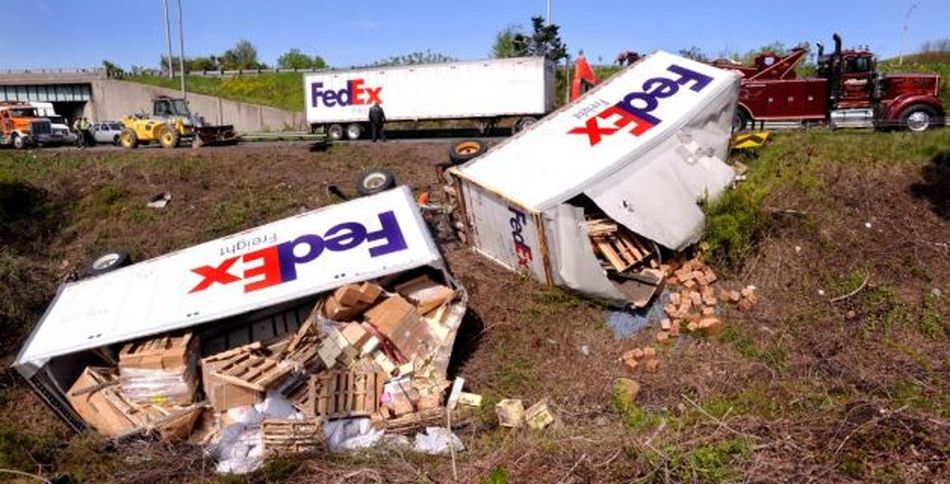
I know what you're thinking; why would I show you a shipping disaster as a cover photo for the shipping a painting page? Although rare, accidents do happen in the world of logistics. Not all of them are as extreme as this over-turned FedEx freight trailer, but can be as small as simple drop to the pavement. When designing your shipping container, you need to plan for the worst and hope for the best.
|
In 2013 I entered and was accepted into my first juried art show outside of my state. This required me to construct a container and ship the painting to the competition. Even though the painting was only traveling 5 hours away to the next state, I wanted to make sure it got there in one piece. I have built a few crates in the past for former instructors so I had a general idea on how I wanted to build my crate. To the right is the crate that successfully made the journey. As you can see in the second photo, at some point, the crate was dropped and the corner was dented quite a bit. I'm glad I decided to add 1" by 2" pieces of wood around the perimeter of the 1/4" plywood top and bottom. Although its dented, I can still use this crate in the future.
|
|
In this page I will show you how I made my wooden shipping crate and how I pack a painting. Cardboard boxes can be used too, but the wood crate will provide the most protection. Below is a slide show of my process.
The key to designing a good crate is to make it simple as possible to pack and un-pack a painting. Try to avoid bubble wrap; some exhibitions will even request that you don't use it. You have to remember that one person will un-pack the painting before the show and somebody else will probably re-pack after. If you are lucky the un-packer will take notes on how the painting fit in the crate. The only way to ensure your art is repackaged correctly is to include instructions. No matter how simple you think you designed your shipping container, never assume the helpers unpacking/packing the show will figure it out. I learned this the hard way. Luckily, no damage was done to the painting.
Below is a slide show of photos I now include with the painting on how to re-package it. I have managed to secure the painting in the crate without anything touching the painting's surface. Also note that pipe insulation foam available at the hardware store works great at protecting the edges of a traditional frame.
|
The last step to shipping a painting is deciding on a carrier service. In most cases the exhibition will require you to include a return label inside of your package. The last time I checked, the only services that offer a printable return label is FedEx and UPS. The United States Post Office does not. Also, you will not be billed until that return label is scanned and is in transit. In terms of shipping cost, I think they are about the same. When I did a price check, I believe FedEx was just a bit cheaper.
Once you have decided on a carrier, go to their website and make an account. Its best to be able to print the shipping label and return label at home. If you are like me and have 20 screws holding the lid of the shipping crate on, you don't want to have to take the lid off and put it back on in the FedEx store just to slip the return label in there. If you don't have one already, you need an accurate scale so you can weigh your shipment yourself. The option of transit time and service depends on how much you want to pay. I always opt for the "ground" service. My crates are built well enough that a couple extra days in transit shouldn't do any harm. |
|
Lastly, INSURE YOUR PACKAGE. Remember the cover photo of this page with the rolled over FedEx trailer? Accidents happen and this is what insurance is for. You are most likely shipping an expensive, fragile piece of art; don't take the risk, get it insured for the full amount it's worth.
