
Here are the final photographs of the completed painting. If you want to see how I photograph my art, check out my photographing art page here.
|
After too many hours to count, the last step is signing. It is small and unobtrusive. 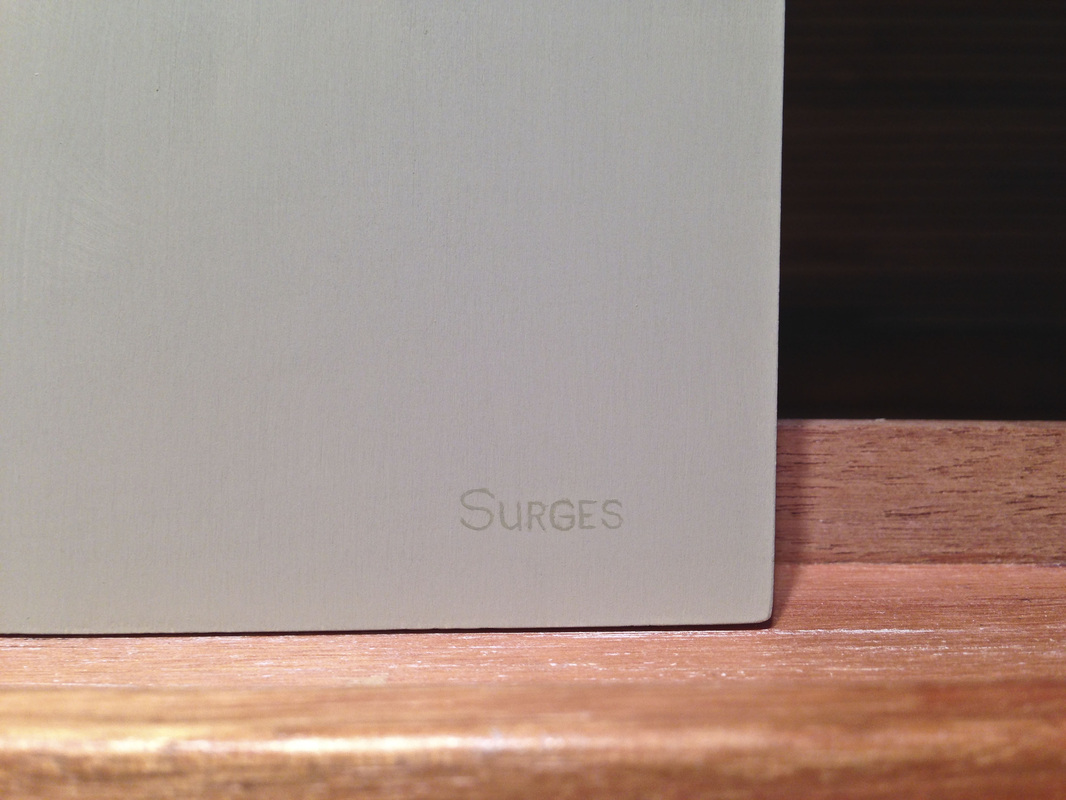 Painting rust is quite easy. I like to start by brushing on a very thin layer medium. This serves to oil out this section of the painting and provides a "couch" of medium to paint detail into. Then I'll add some of the finer rust texture with a worn out bristle brush. I paint the larger specks with a small round. Finally, I dab on the highlights a bit thicker to give them a more real appearance. Working on the detail on the flag here. The flag looks a bit bland without any signs of a texture. The cloth texture on the flag is very small and not really possible to paint, so I sort of invented my own texture. I used a small brush to paint a grid pattern and picked away the paint with a thumb tack to reveal the highlight. I start the ammo box by mixing up some paint. It is always interesting to me to see the colors and values on the palette of what will become a painting. Most shocking for me is the realization of how dull most colors really are. Very rarely do I use the full intensity of the tubed paint. A neutral grey or brown is often needed to tame most tubed paint to match reality. Here is a quick and easy way to transfer letters to a painting. First I print out a photo reference to scale of the painting and rub the back with graphite - you can also use white charcoal if necessary. Then I tape it where I want it and transfer the graphite to the painting's surface with pressure from the tip of a pencil. Excess graphite can be cleaned up with a kneaded eraser. These raised, embossed letters take some time. Not only do I have get the shape of the letter right, but they need to be rendered in 3D. 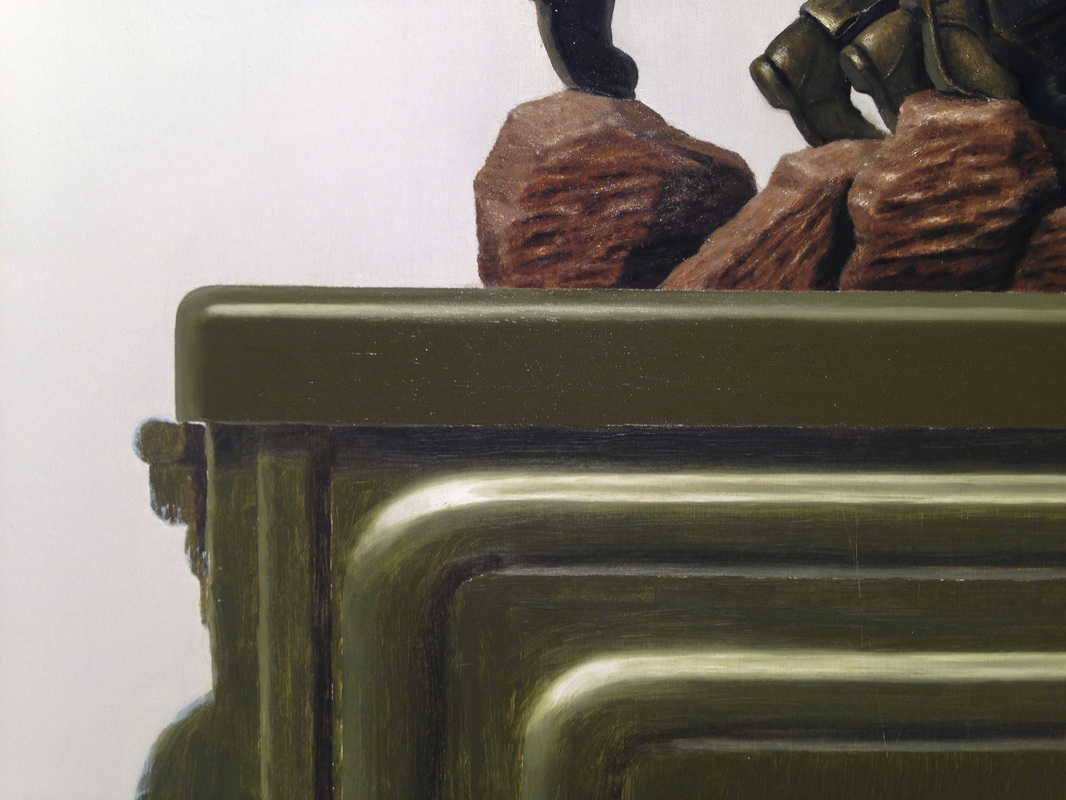 The highlights are applied very smoothly for the second layer; much more slick than reality. I will need to rough them up a bit in the final layer of paint when I add all the little scratches and specks of rust to the metal ammo box. 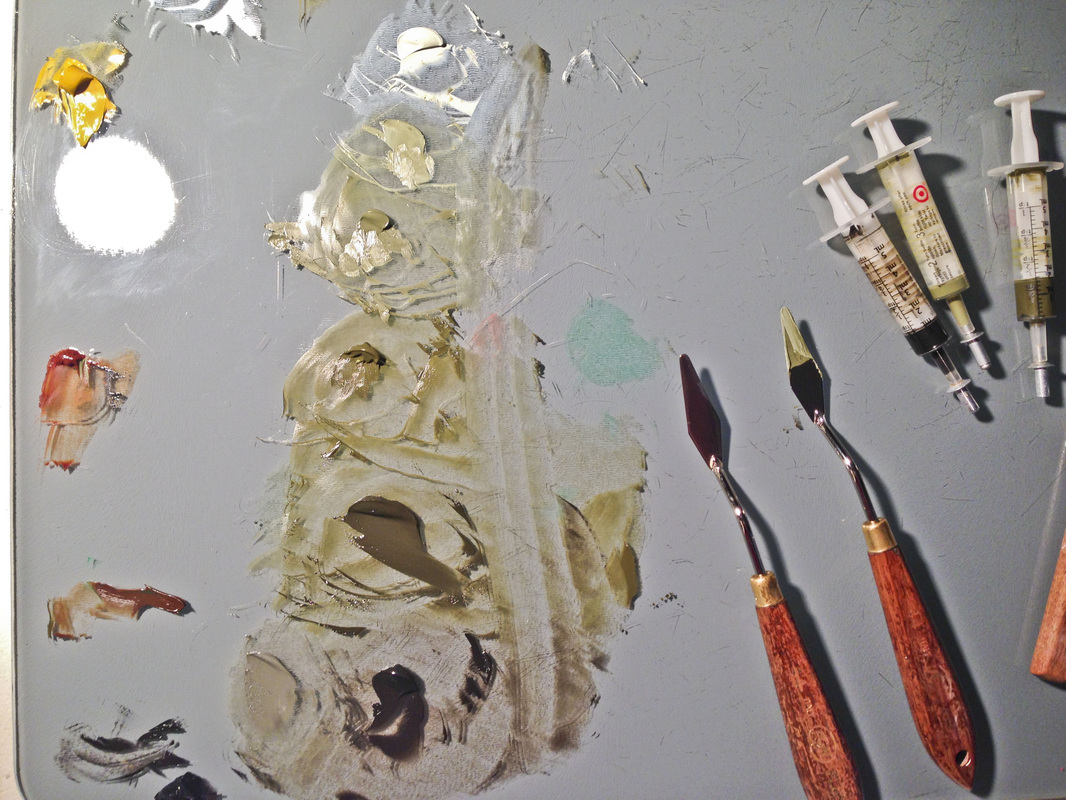 Got some photos of the detail work I'm painting. I have the statue the way I want it and the flag is nearly complete. Starting the statue was a bit uncomfortable because the textures in it had me painting in a way I don't usually paint. Some areas had me scraping and scratching the surface to reveal highlights and some areas the underpainting shines through the detail sort of like a glaze. Its the kind of painting that when you start, you are not entirely sure you're doing it right. I eventually convinced myself I was on the right track. The stars on the flag were a challenge - I'm just thankful the folds in the flag obscured many of them so I didn't have to paint all 48. I still want to go back and paint the texture of the fabric on the flag, but I have not decided how I'll do that yet. Next week I'll start painting the ammo box. |
Kyle Surges's Oil Painting Blog
Keep up to date with the RSS Feed.
Archives
March 2021
This website is 100% safe. The ads you see here are simply to help fund this site. They are clean, non-popup ads provided by Google. If an ad is clicked, you will be directed to another safe website and Google will pay me a few cents. Your support is greatly appreciated.
|
 RSS Feed
